
Hogwarts Crest Painting:

 I started with a couple paintings, easy enough to do in an afternoon while taking multiple bathroom breaks and naps. I have a couple canvases that I had picked up from Michael's for .01 from their clearance section so this seemed as good a reason to use them as any. I researched a bunch of different Hogwarts's crests to use, found a few that I liked and freehand drew a conglomeration of the ones I had found through Google. After taking way too long to perfect all of my lines (looking back, I should have just printed out a picture and traced it onto the canvas, it would have been less stressful to my inner perfectionist). Then I traced all of the pencil lines with black acrylic paint and filled in the parts that would become the all black silhouettes of the school mascots. In this aspect as well, I should have done the color first since I did all of the black and then went back to redo the lines so that they were more clean and distinct. The process after the freehand drawing was simple, color inside the lines! So I filled in the school colors, painted the background my favorite neutral grey, used puffy paint to outline the lines of the crest and stapled a slightly Gryffindor-esque fabric around the painting to frame it. While I was entirely too pleased with the outcome, DH needed me to explain what it even was, I know, horrible, right? But it was cute, easy and actually made it seem like I had a theme!


This one, I was not as pleased with. I wanted to go with the darker colors that are more prevalent in the Harry Potter movies, but by the time all my paint dried, they all kind of seemed the same color, blending the sky with the branches too much. Again here, I just searched for Whomping

Flying Key and Owl Cage Mobile:

 Do you remember the flying keys used to get through the Chamber of Secrets? Exactly right! That's what these keys were inspired by (and a picture on Pinterest with a defunct link or else I would send you there) and I think they came out very cute. It had taken me while to collect the right kind of keys in the correct size, I had the large silver one from Michael's just sitting around, I had probably bought it almost two years ago at this point. I found one of the smaller rust colored ones in a manufactured shadowbox from the dollar store but I couldn't find anymore that fit what I was looking for, until I walked into Michael's recently to purchase some of my favorite Martha Stewart acrylics and my niece pointed them out. We bought one of each of the styles (costing around $6), although I wish I had bought a couple extra because it seemed thin when I was done. I also found the white birdcage (candle holder) there in their value section for around $2, which was good because the tiny silver one that I had purchased for the project would have been much too small for the size of the keys that I used. So far the mobile cost me $10. After cutting out white felt wings, using hot glue to adhere them to the keys and sewing thread to tie them to the birdcage, it was 90% finished. I am trying to figure out what kind of owl I want inside the cage. I had a wooden cutout of an owl that I started painting but looking at it now, I feel unconvinced that it will look right and I think a felt one might look cheesy, so that part of it is in slight limbo as of right now.
Bassinet Refinish:


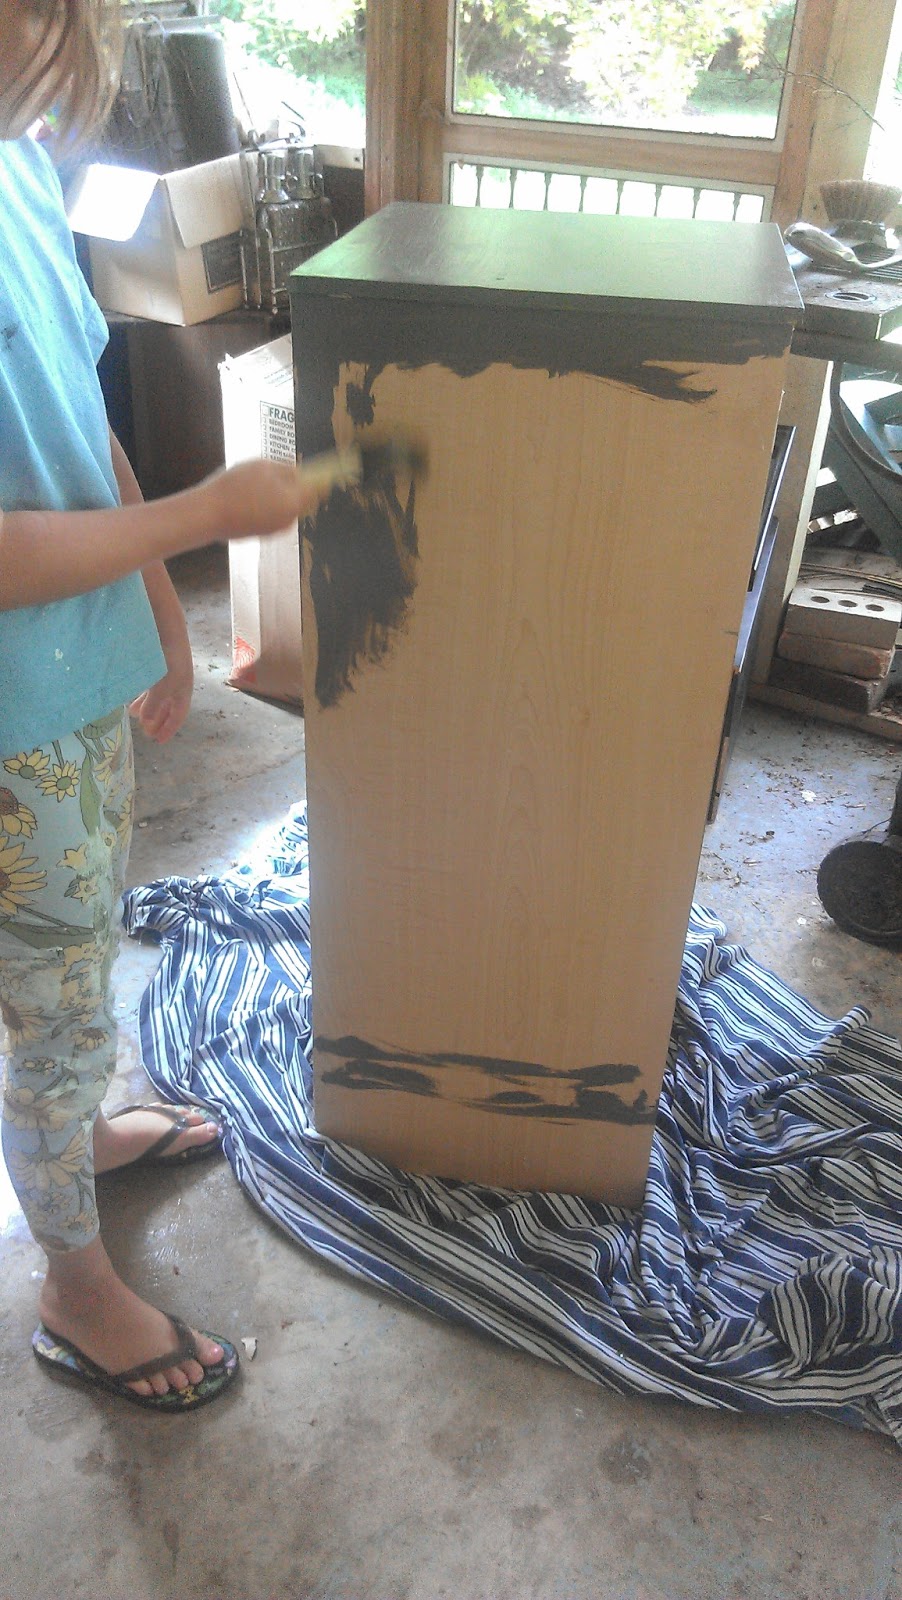
Chest of Drawers:
This project actually took the most time and the least planning, thus the most time. I had an old set of drawers that was used for the kids clothing but was getting too small for all their things so I planned on repainting it and using it for the baby. I knew that it was difficult to paint laminate furniture but I had read all over the internet that it was possible and not nearly as daunting as previously indicated. So I took the drawers out and lightly sanded the entire thing, which was my first mistake, I should have heavily sanded the entire things repetitively. I had bought lovely Martha Stewart indoor paint from Home Depot for $20 for both colors, but they were perfect. Then I went to town painting it, the drawers took almost three coats by the time I was done, just to get an even red throughout the grey only took two coats (see little E in the third picture, helping me out!). After it was all painted, I swapped out the boring wooden knobs for white ceramic ones with skeleton keys on them, also from Michael's. After it all dried, i ran my hand over it a bit and took my nail to it and the paint came right off. So after staring at it angrily for a couple minutes, thinking that I would have to sand the whole thing over again to repaint it (or burn it, which did cross my mind) I figured that I would try a clear sealant. So back to Michael's I went. I sprayed the whole thing with sealant and had great results, no peeling or scratching anywhere. When I went to put it into our room though, the humidity made it so that the paint sticks to everything. My plan would have worked perfectly outside of that. So for $25, as far as this project is concerned, I would have done better to just go purchase a new dresser, or left it as is. But it does match my theme!


Gryffindor Felt Number Block:

 While Hubby and I were watching Doctor Who while in bed, I cut out and sewed together this precious morsel. I had sewn a few other felt cubes for a friend's baby shower, a giraffe and an elephant, so I wanted to make a couple for our baby, too. This was the first one that I made, I later made a hippo, zebra, and pig but those might go to the same home as the first two eventually. I used a simple square pattern that I had for quilting, cut out the felt from Gryffindor colored sheets that I had bought at Hobby Lobby for .25 a sheet and sewed it together with embroidery floss. Other than a slight miscalculation where I cut out a 7 and was thoroughly confused why it wouldn't go anywhere, it came out adorably. I will probably make three more to match the houses but with letters on them instead. I even put a little bell on the inside so the baby can make some noise and I stuffed it with poly-fil left over from cleaning out my mother's storage unit last year. So for around $3 I made a cute Harry Potter felt block for soon to be here Baby Rogers.
So far those are the most exciting projects that I have made. I have twenty or so burp cloths on the docket, another painting and my little owl for the mobile. I also want to made a cover for our stroller but I am not sure that will get done before baby gets here, we are supposed to have a huge thunderstorm in the next couple days and there is hearsay that many women go into labor during storms!
No comments:
Post a Comment